How to assemble the curriculum and content of my online course?
For your online course to be successful it is important to assemble your course curriculum with as much information and details for your students.
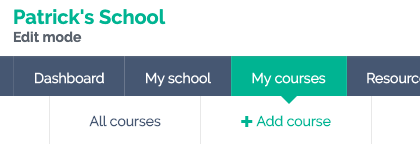
1) To begin, let’s first create an online course through the menu My courses -> + Add course and allow the students themselves to enroll in your online course.
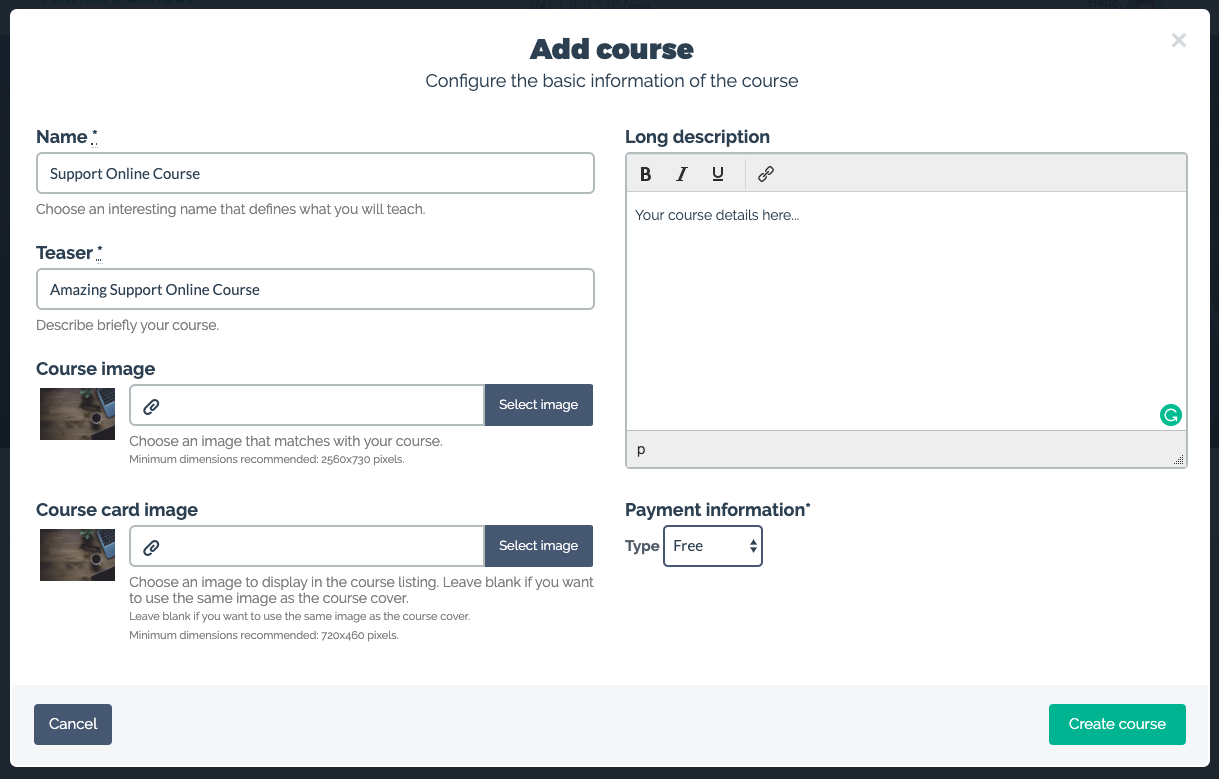
On the next screen, you must fill in your online course information and click on the Create course button to save.
Ready! Now it’s time to put together your online course curriculum.
Right now you are browsing with your school and online course in edit mode, this means that you are setting up the sales page of your online course at the same time and preparing the student area for your students to consume the contents of your online course.
Scroll down a bit and you will see the Course curriculum section.
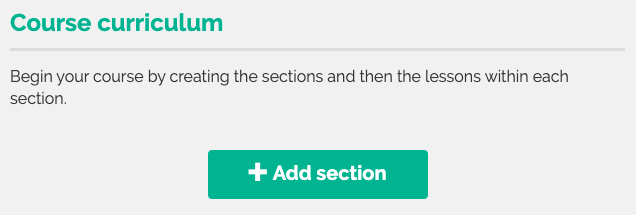
Click on the + Add section button to register your course section, which also has the module name, for example: Introduction, Intermediate, Advanced. Within each section you can add your online course lessons.
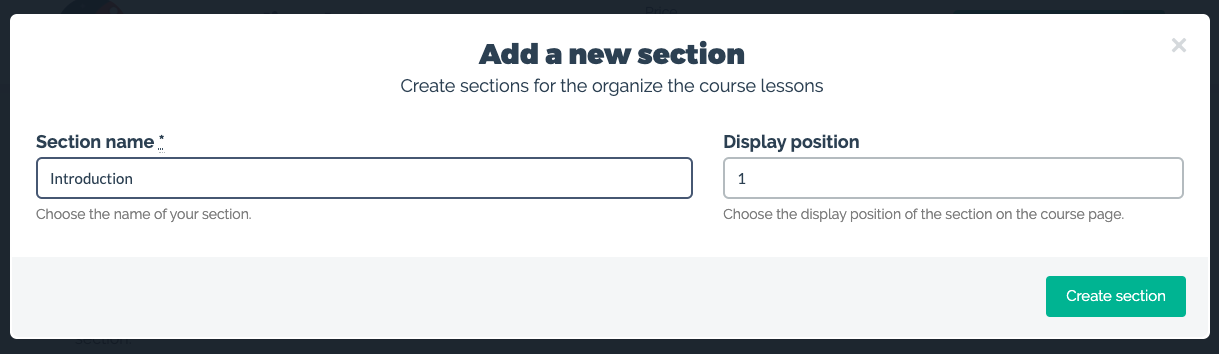
Click the Create section button to save.
Sections are a way to better organize your content and it is also a way to make it easier for your student to understand the structure and organization of your online course.
The next step is to add your lesson / class content within the course section. To do this, click the + Add lesson button.

You can upload content for your lesson from the following places:
- From your computer, through the My Computer menu
- Import content from your Dropbox
- Put a YouTube video link
- Or import a video from your Vimeo account, for that click on the link + Do you want to Integrate with other platforms? to enable Vimeo on your account.
Select the best place to bring your content and click the Next button.
On the next screen you must fill in the fields with information about your lesson / class.

Finally, click on the Create Lesson button.
Now just repeat the process to add the remaining content of your online course.
In the current version Coursify.me allows only one content per lesson / class, if you want to add a PDF to accompany a video, you must first add a lesson with your video and then the PDF in the next lesson.
This does not disturb the student, on the contrary, it makes student navigation simpler and more focused on each content. In the student area, Coursify.me displays all online content, so the student does not need to leave the learning environment at any time.
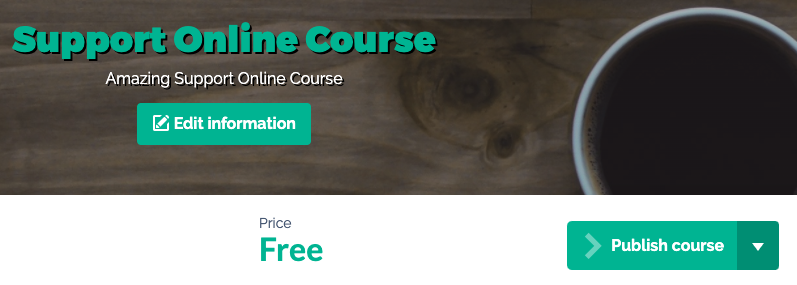
After providing this, you must publish your course online so that it is accessible to anyone on the Internet. To do this, click the Publish course button in the upper right corner of the screen.
and you will see that the button will change the text to Course published.
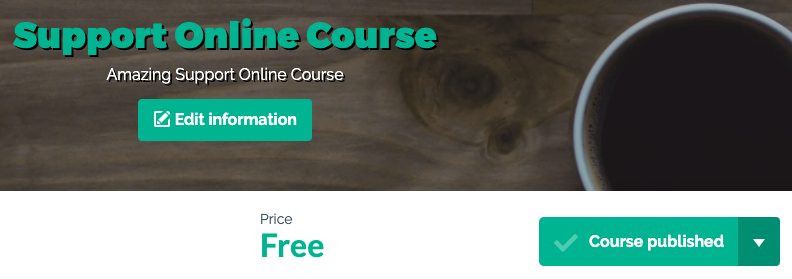
This means that your course has been published successfully and is now available on the Internet for any of your students to enroll in the course.
The last step is to send the course link to interested people, just copy the link from your browser’s URL:

This is the way we recommend it most, your school is always online capturing new students online.
I hope this article helped you to use Coursify.me.
Click here to create your free account on Coursify.me.
Articles in this section