How do I create a PayPal seller account to receive payments for my online courses?
Follow the step by step below to create a PayPal seller account to receive your payments:
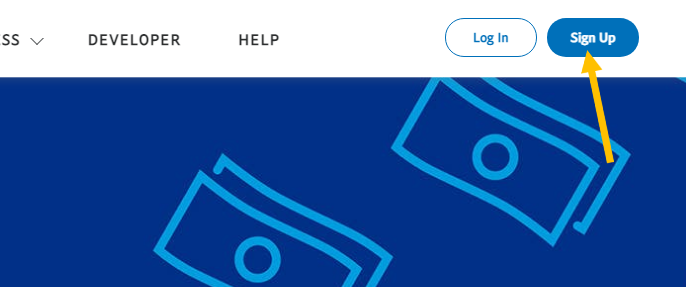
1) Access the Paypal website (https://www.paypal.com/us/home) and click on “Sign Up”:
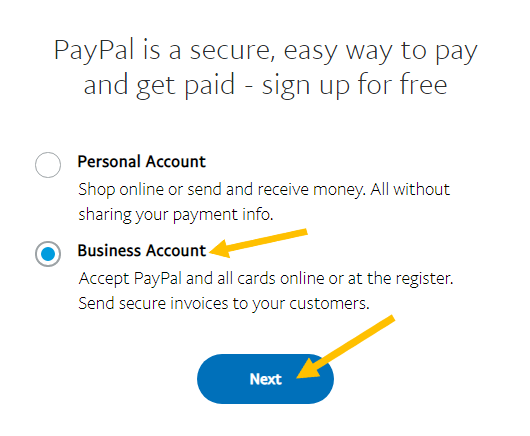
2) On the next screen select: “Business Account” and click “Next”:
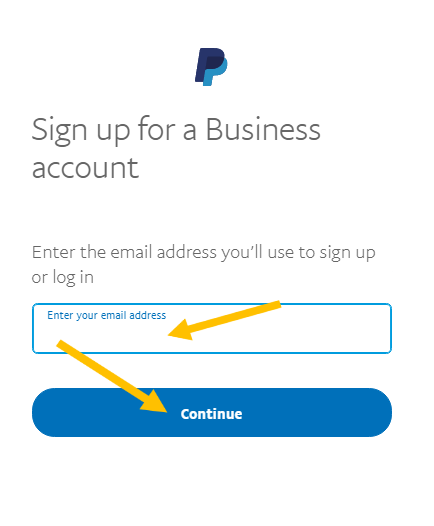
3) Fill in with your email and continue:
4) Choose a password:
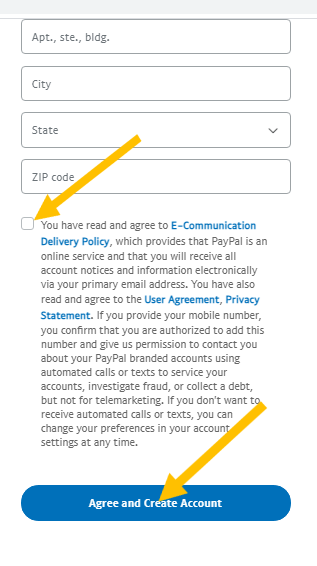
5) Fill in the requested data, check the box to accept the terms by clicking on “Agree and Create Account”:
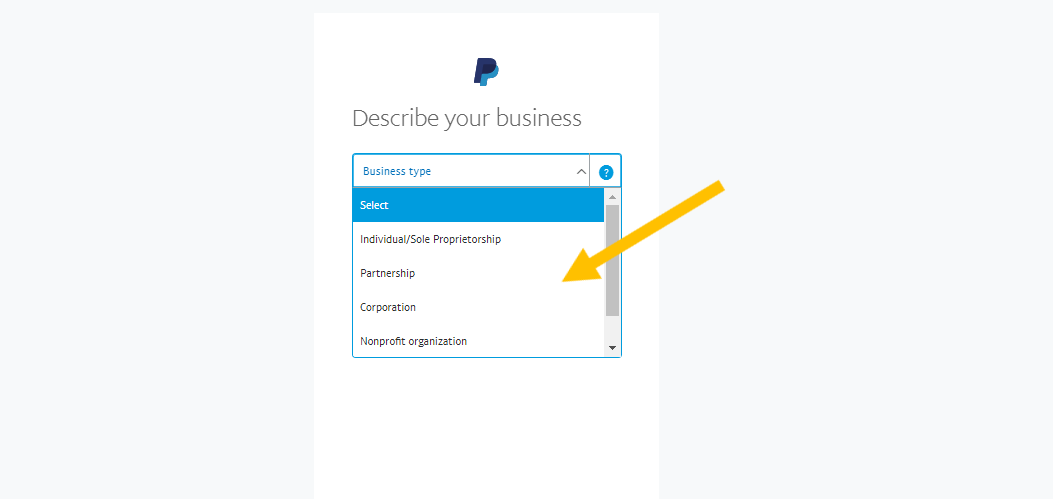
6) Select the option that describes your business type:
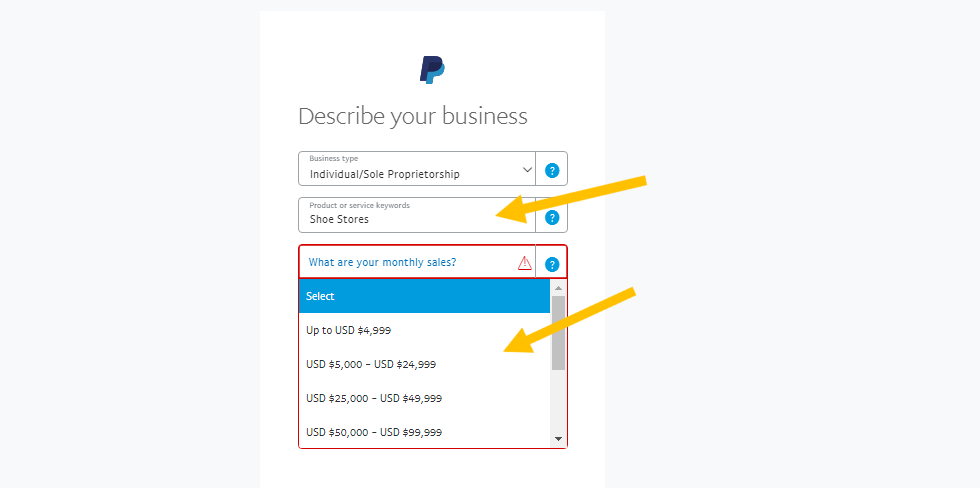
7) Select the value of your monthly sales:
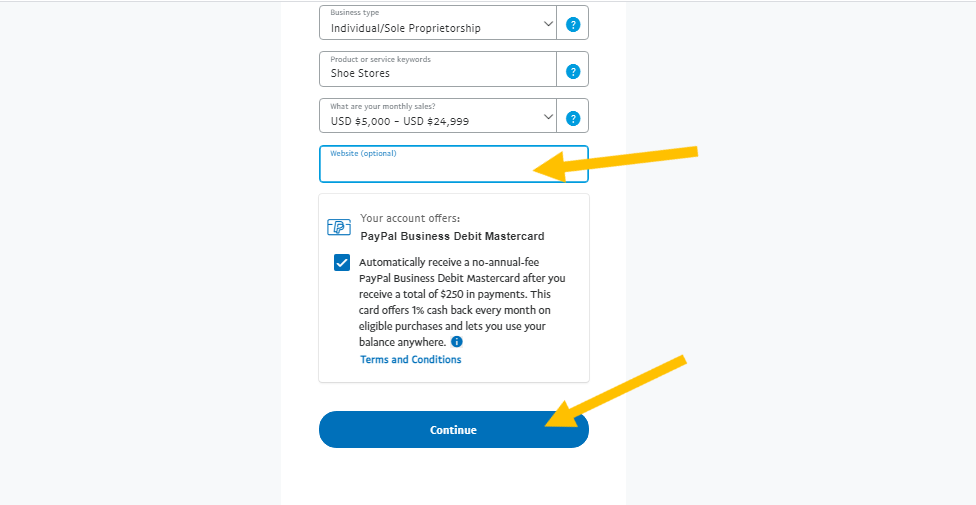
8) Fill in with your website (optional), select the checkbox to accept the terms and Continue:
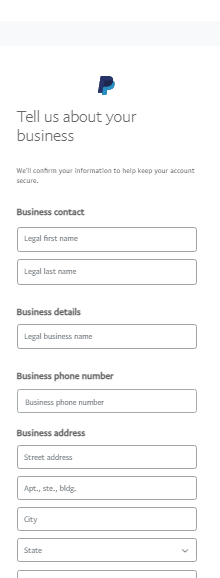
9) Fill in the requested data and click “Submit”.
Your account has been created and is ready to be integrated into the Coursify.me platform.
To set up your PayPal account to automatically receive notifications of tuition payments for your courses, follow the step by step below:
1) At the top, access the menu and click on “Account Settings”:
2) After that click on “Notifications”:
3) Follow by clicking “Update” in the option instant payment notifications:
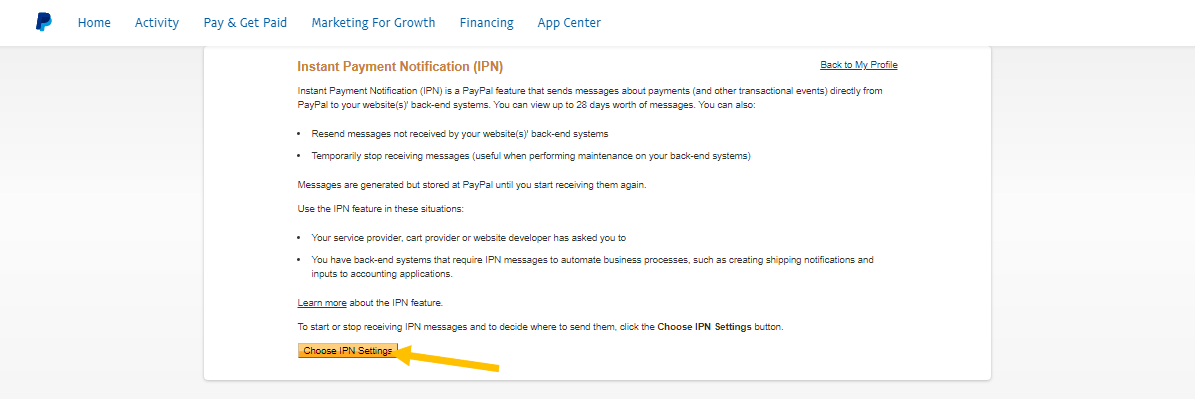
4) Select the “Choose IPN Settings” option:
Fill in the following link in the notification URL: https://sso.coursify.me/gateways/payments/paypal.
Check the option “Receive IPN messages (Enabled)” and save:
Ready! Your school will automatically start receiving notifications of tuition fees for your courses.
Now, let’s integrate with the Coursify.me platform, perform the following step by step:
1) In the menu of your school’s page, click on “Resources” and “Integrations”:
2) In the Payment Integrations section, next to the PayPal option, click “Integrate”:
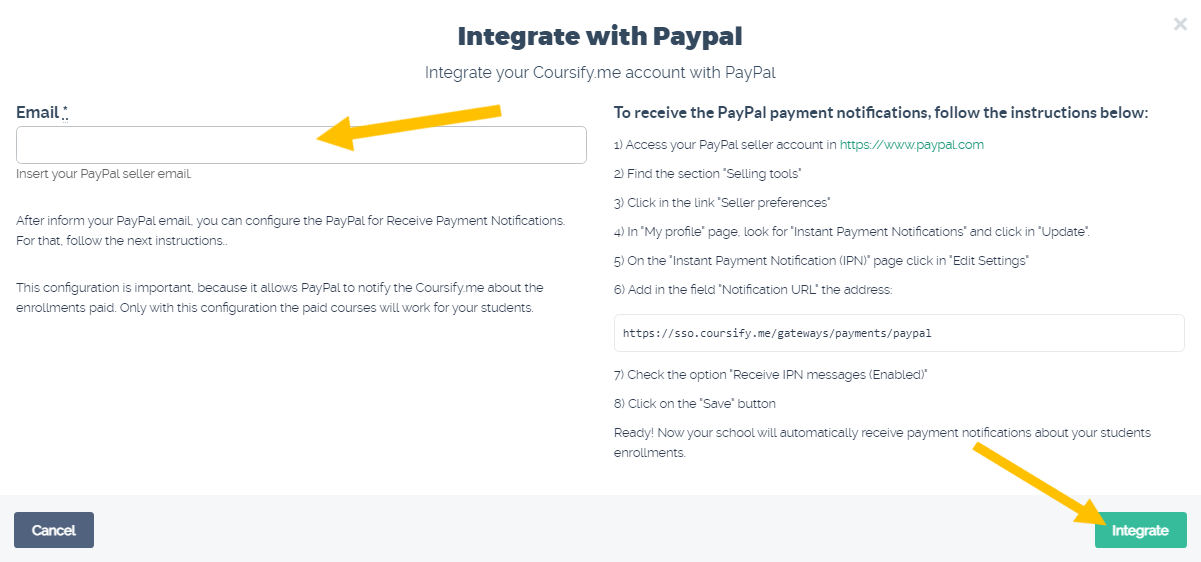
3) Fill in with your email address used in the account registered as a seller on PayPal and click on “Integrate”:
Done! You have created a seller account, activated registration payment notifications and integrated with Coursify.me.
Any questions, we are available.
Good sales!
Articles in this section
