How to create live classes on Vimeo and incorporate it on Coursify.me?
Live streaming is a resource widely used today to teach classes, attract students and promote greater engagement by the audience.
– Advantages of live streaming your classes
To create live classes on Vimeo and incorporate them on your Coursify.me page, you must have an account and subscribe to the Premium plan on the Vimeo website. Check out more information at: https://vimeo.com/upgrade
That done, the next step is to integrate into the Coursify.me platform. Follow the step by step below to do this:
1) Access the platform menu> Resources> Integrations:

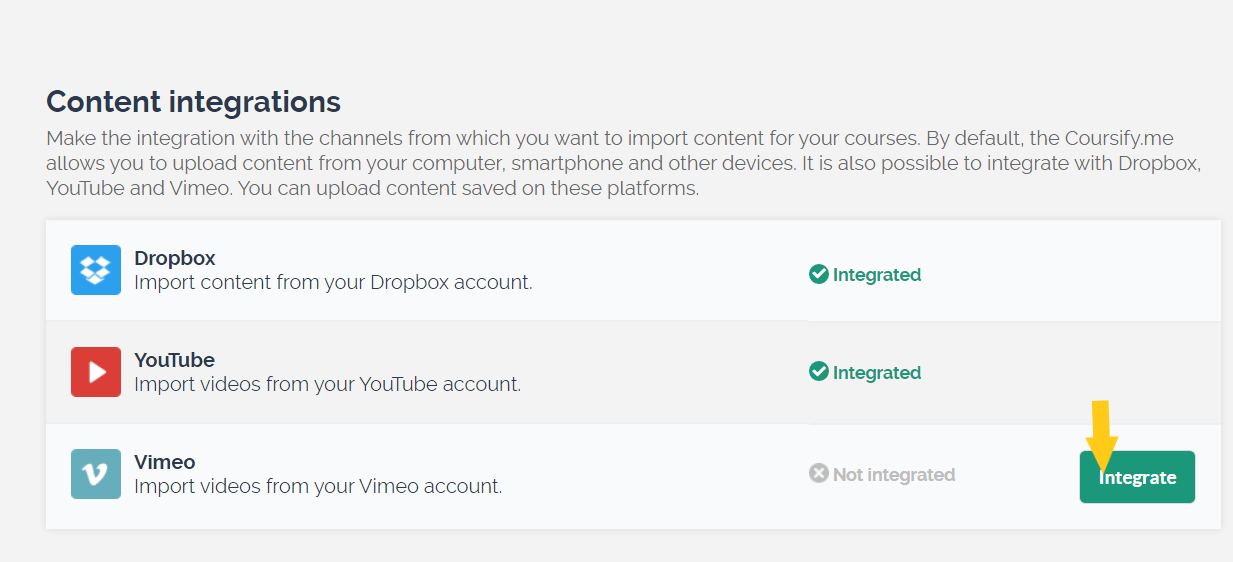
2) Next to the Vimeo option, click “Integrate”:
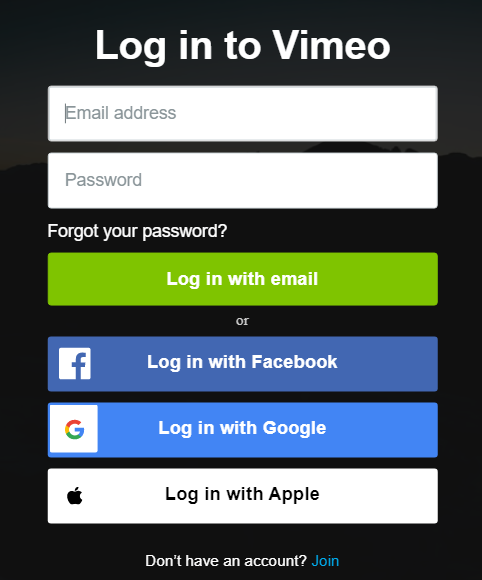
3) On the login page that will appear, fill in the requested information and enter the platform:
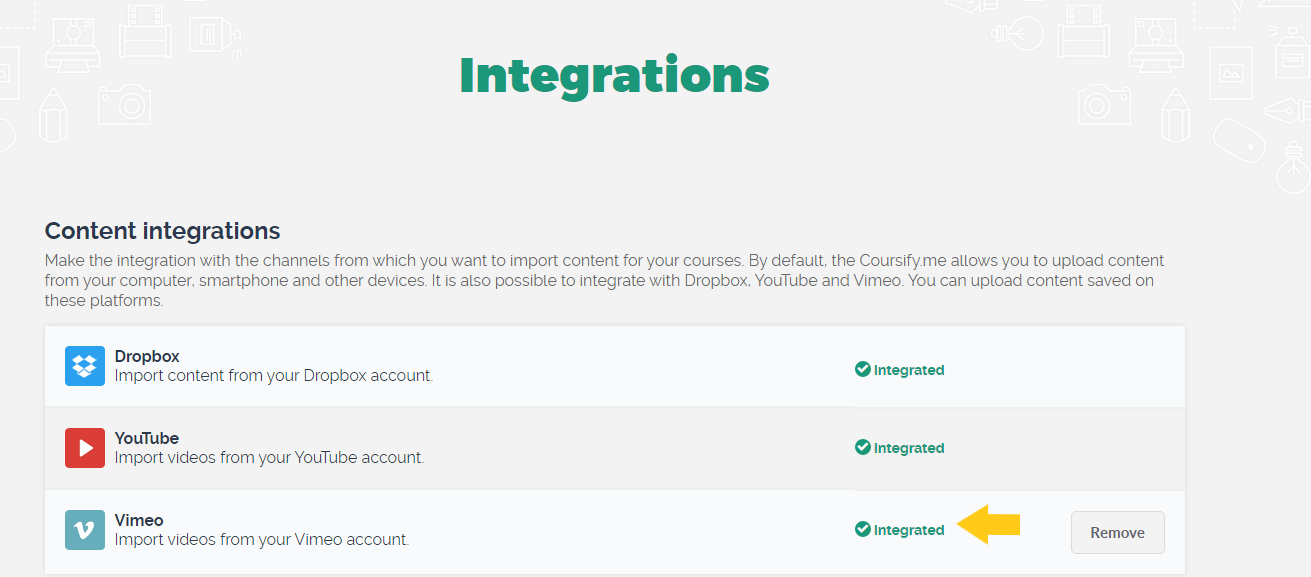
4) Done! You have integrated with Vimeo:
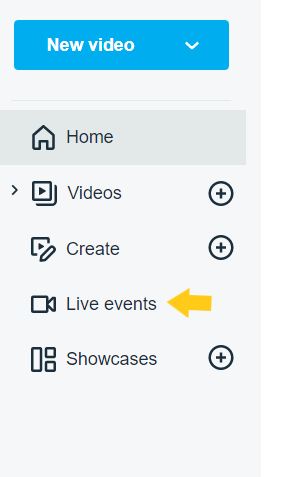
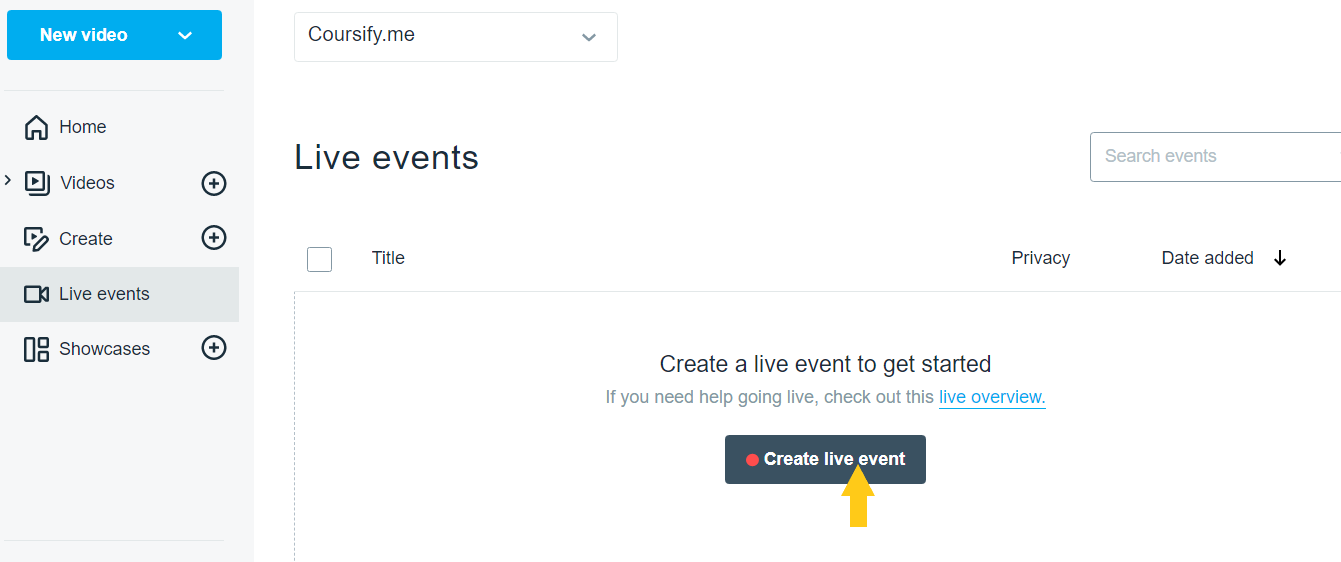
5) Now, to broadcast live classes, in the menu, select the option “Live events”:
6) Click on “Create live event”:
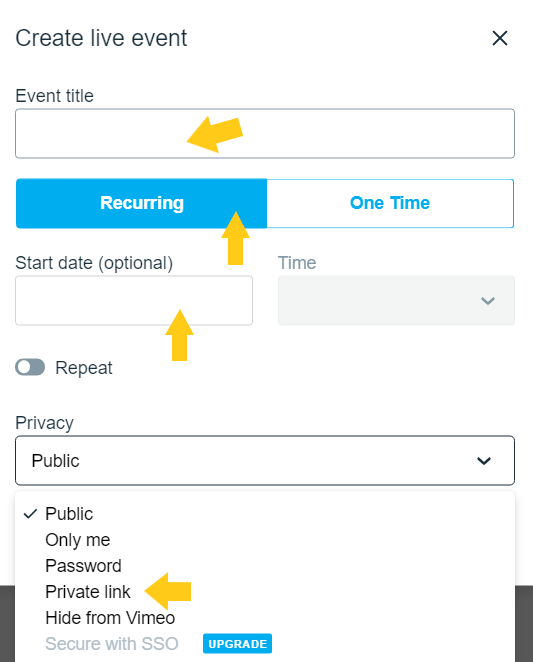
7) Enter the title, select “recurring” or “one time”, start date and time if desired. We recommend selecting Private Link in the Privacy section, so that only your students can access your video through the link:
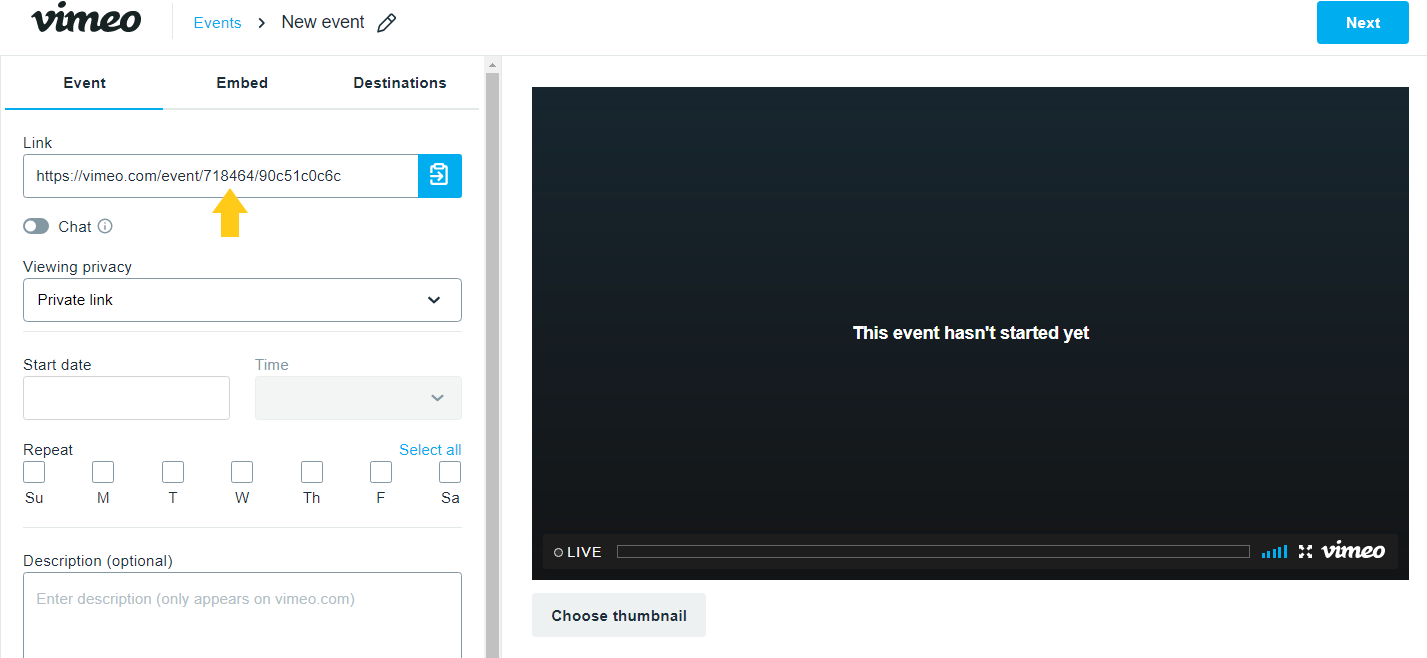
8) Copy the link of the live stream to paste on the Coursify.me platform and, if desired, edit the settings on the Events tab and fill in the description. After that, click on “Next”:
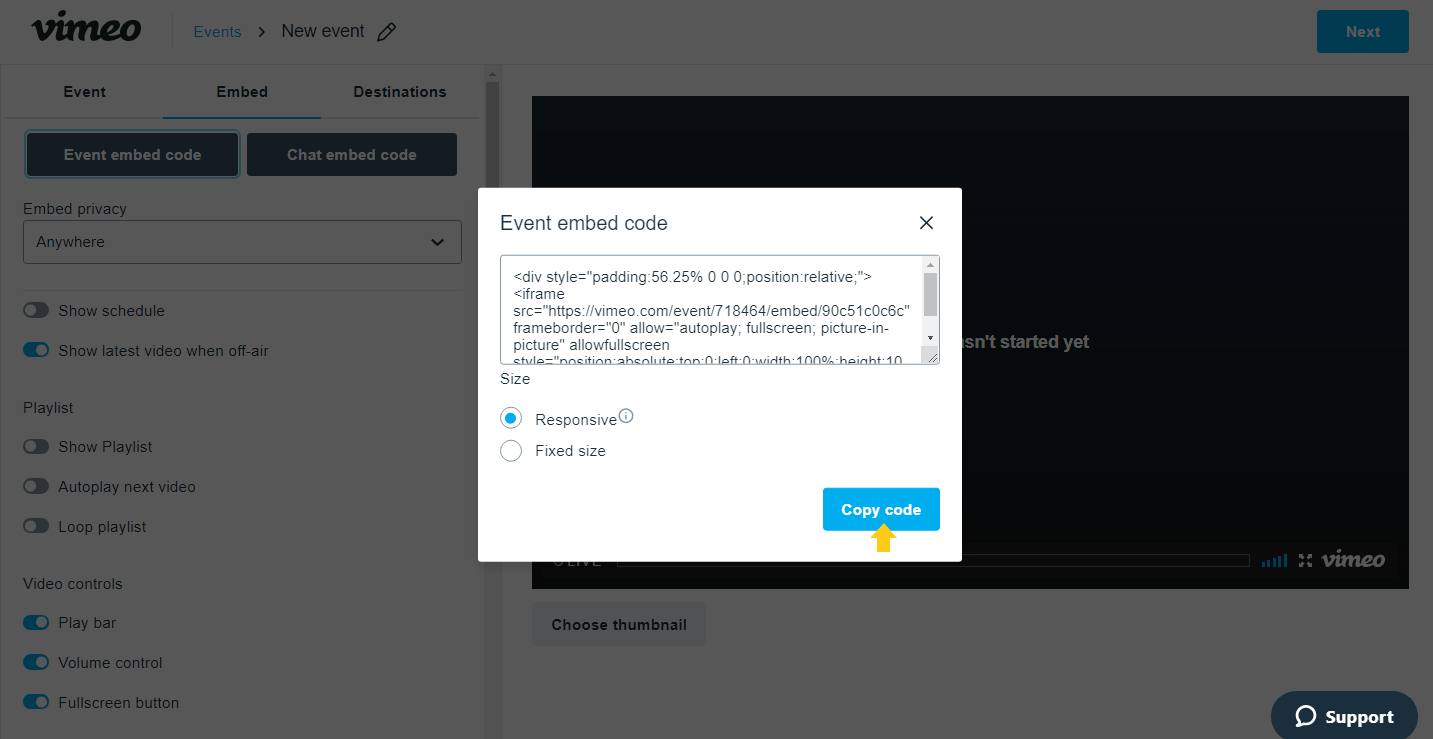
9) In the “Embed” tab, you can change the Privacy to embed the video on other sites. Then, by clicking on “Event embed code”, the code will be displayed and you can copy and insert it on other sites that provide the embedding feature.
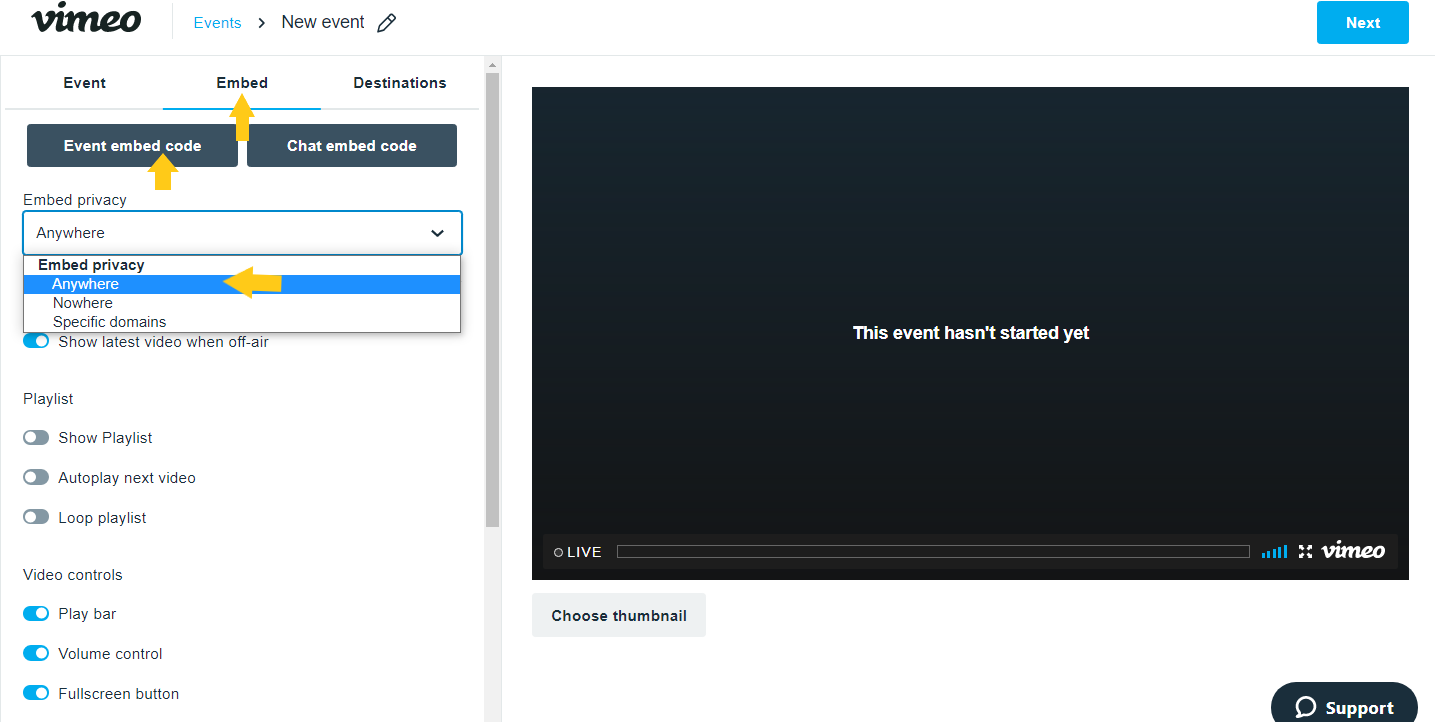
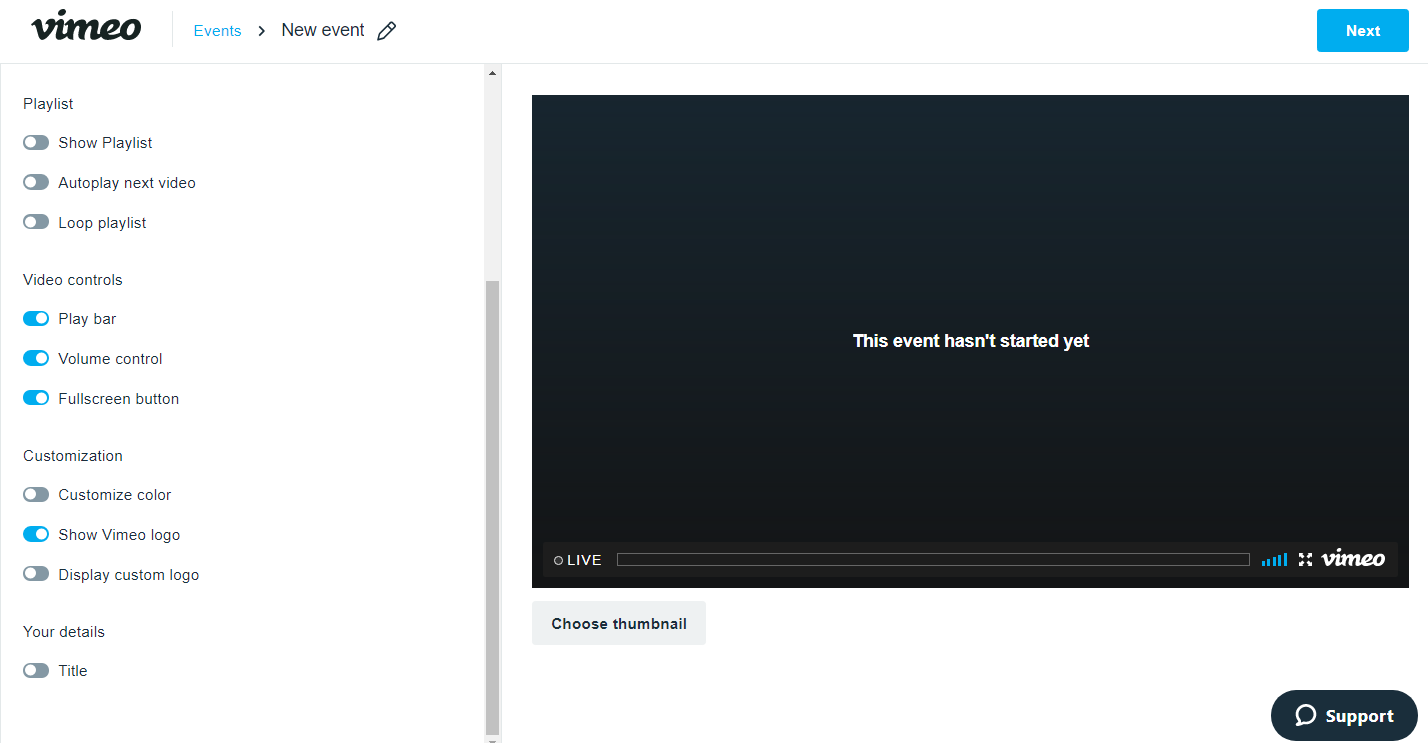
10) In the next options on the Embed tab, configure the way you prefer the video display:
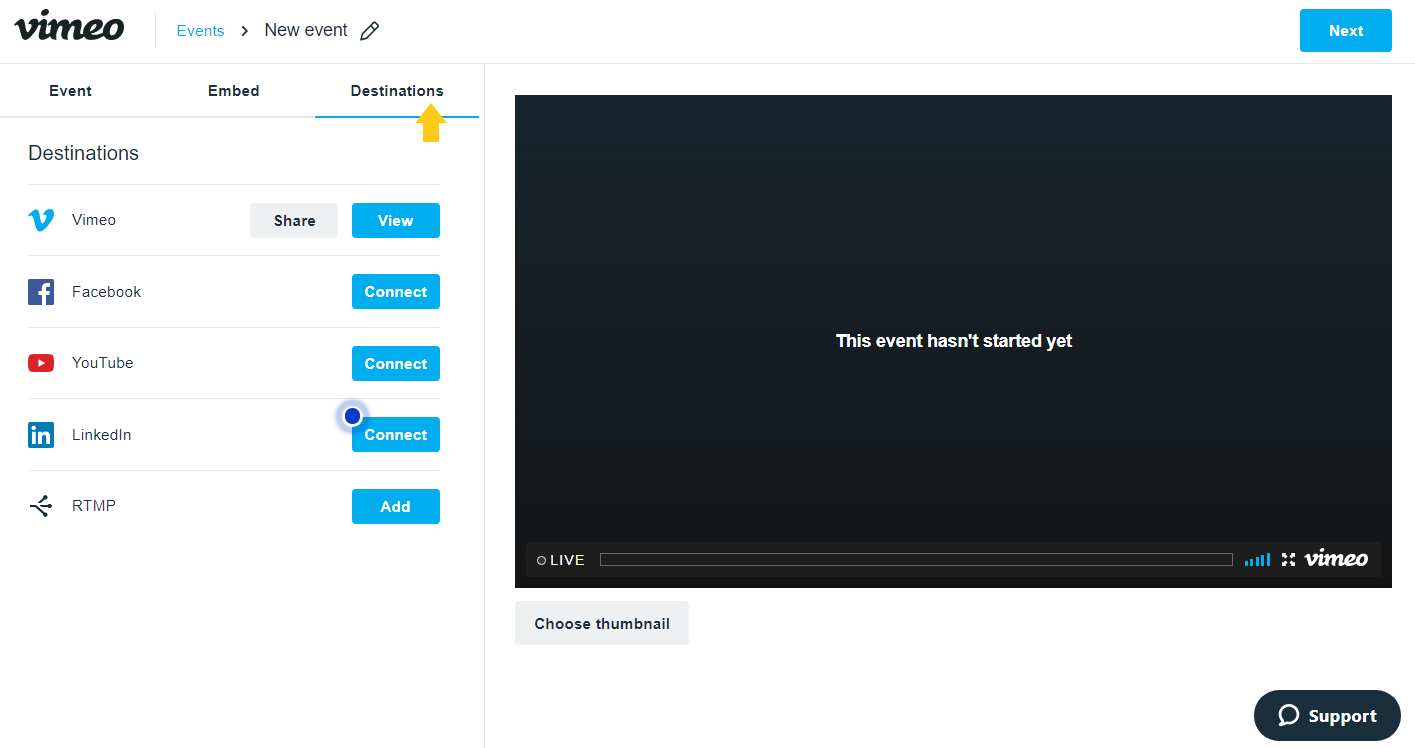
11) In the “Destinations” tab, you can choose to share the broadcast on other platforms, such as Facebook and YouTube:
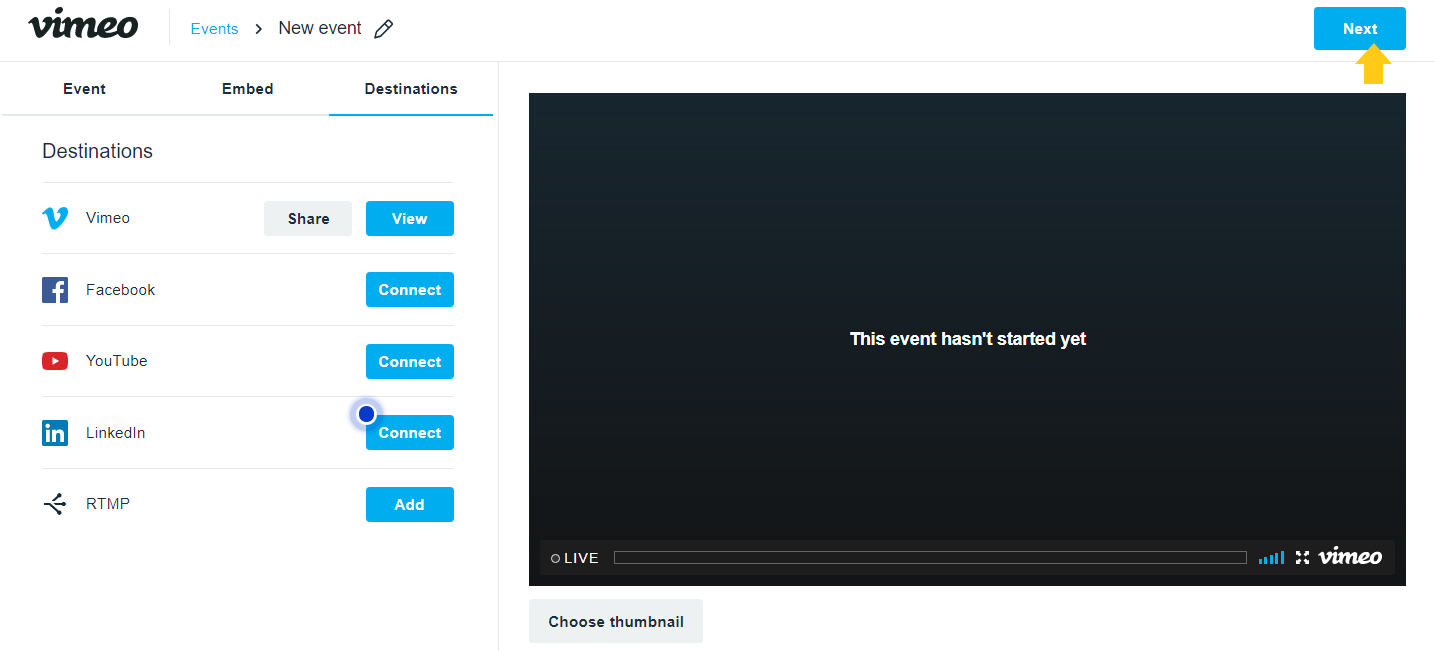
12) After making the settings, click “Next”:
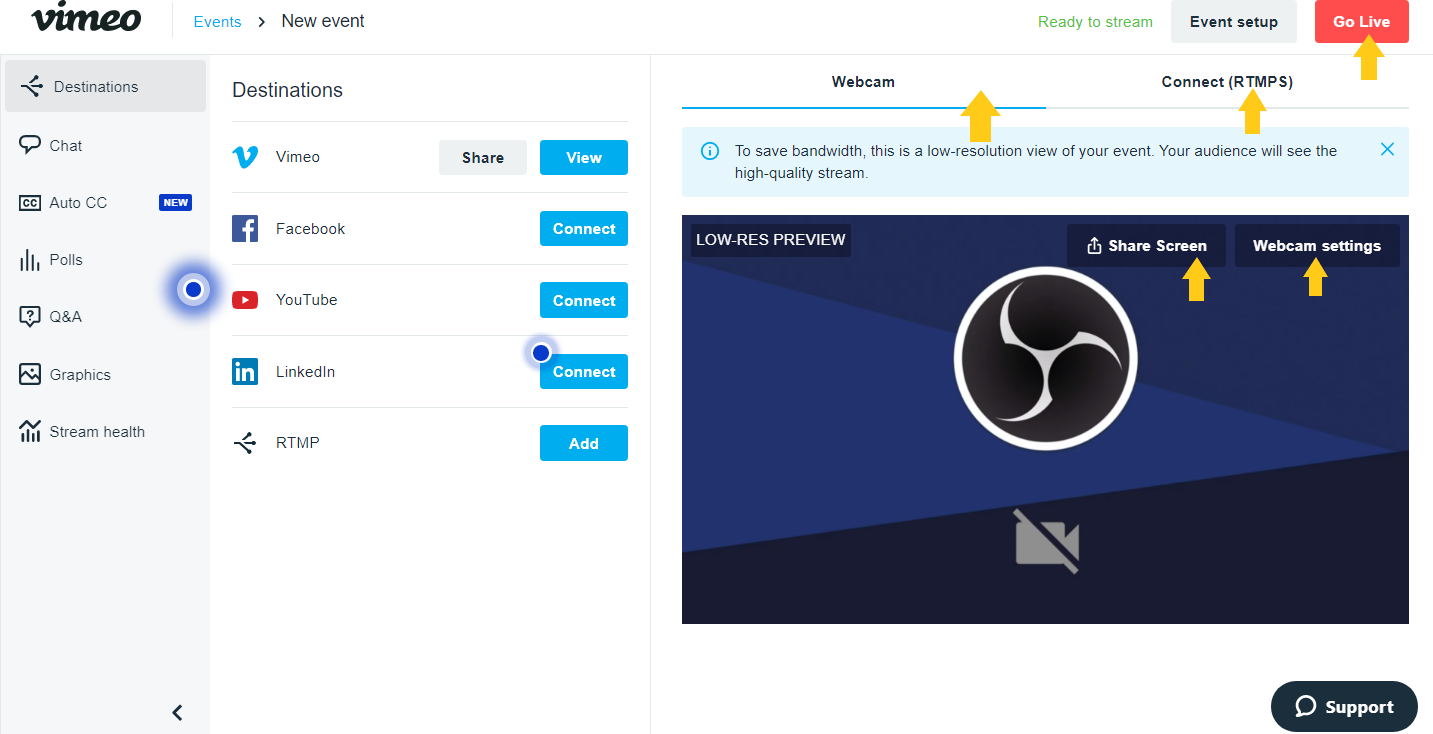
13) Select the webcam or connect option (RTMPS). In the webcam option, you can share the screen and, by clicking on webcam settings, select the webcam and the correct audio input on your computer. Click on “Go live” if you want to start the broadcast:
14) You can now add the link to the broadcast on the Coursify.me platform.
Remembering that the video link will be recognized by Coursify.me only after starting the live stream. Therefore, we recommend adding an introduction while the student waits for the video to start.
Follow the step by step below to insert the streaming link on Coursify.me.
1) Access the menu> My Courses> All Courses:

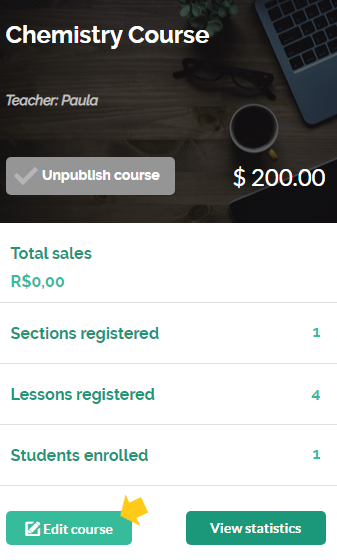
2) On the course card, select “Edit Course”:
You can add the live stream to the course presentation video or to a lesson, however it is important to communicate your students about the date, time and how to access the material.
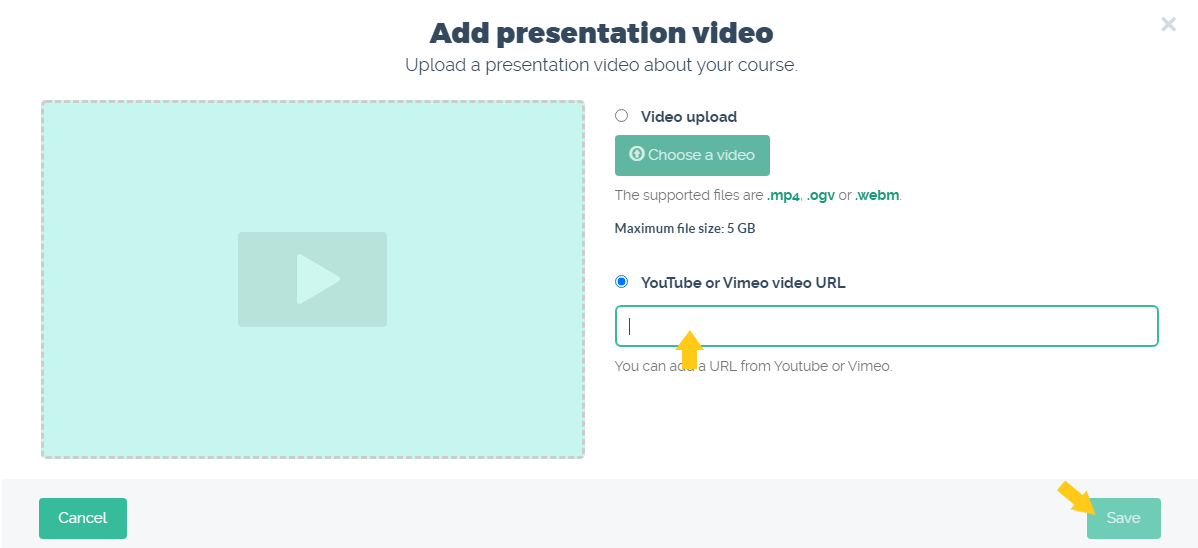
3) For the broadcast to appear in the video presentation field, click “Add a video” on the next screen:

4) Select the “URL” of the video on Vimeo, fill in the field with the embed link and save:
The live will be shown in the presentation video, as shown below:

5) To add the video to a course lesson, go to the course curriculum section and click on add lesson:
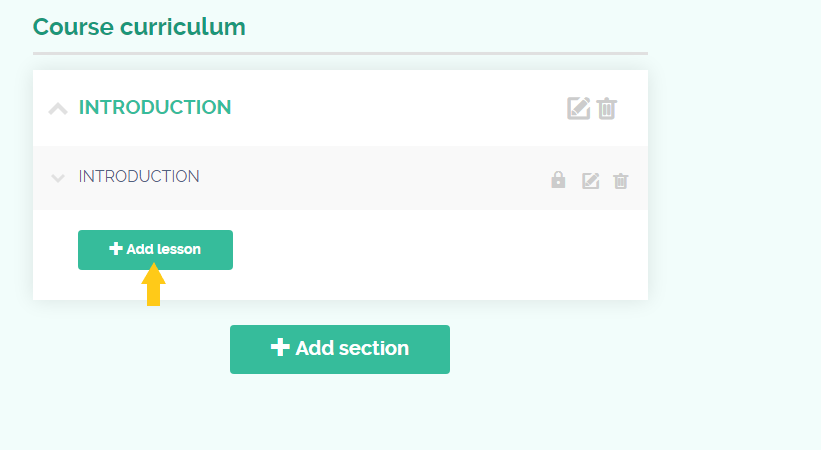
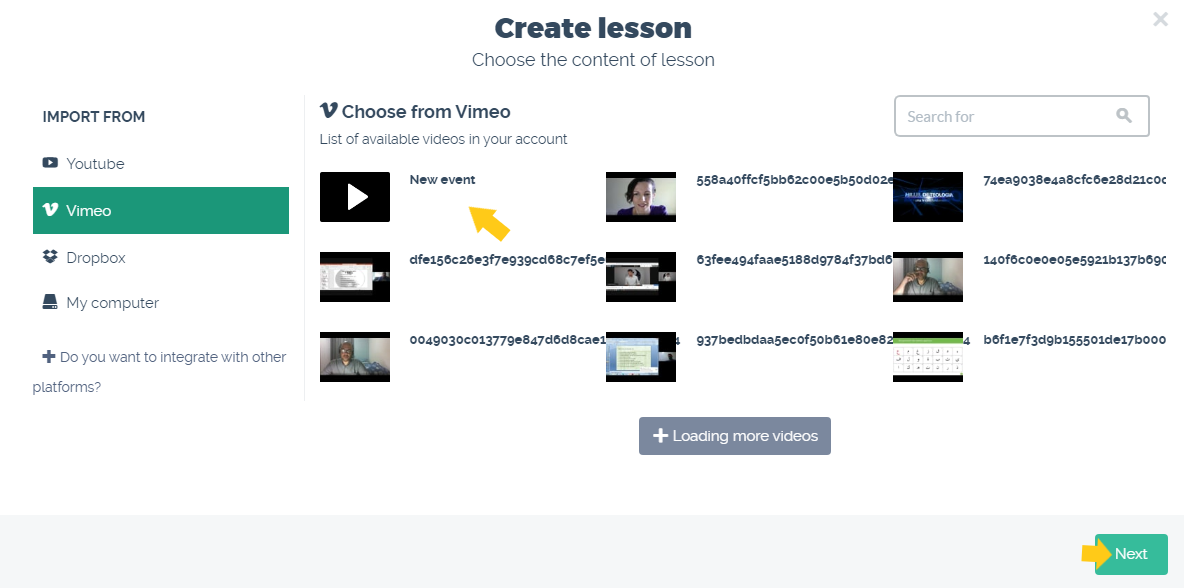
6) On the next screen, select Vimeo and the live broadcast:
Done! The live will be broadcast on the presentation video or in your course lesson on Coursify.me.
Serving companies and professionals in more than 60 countries, Coursify.me is a dynamic and customizable eLearning platform.
We have three options of plans for you to decide which one best suits your needs. Visit our website, test the platform and start creating and selling online courses right now!
Articles in this section